A Guide to Color Correcting and Grading In DaVinci Resolve
Color plays a powerful role in shaping the emotional tone and visual clarity of video. Today, digital tools make it easier than ever to fine-tune every hue and shadow. Among the best is DaVinci Resolve, widely regarded as the gold standard for professional color grading.
Whether you’re using DaVinci Resolve 17 or 18 on Mac or Windows, this guide walks you through the essentials of color grading in the Color Page workspace—perfect for editors ready to elevate their visuals.
DaVinci Resolve Color Page
DaVinci Resolve is divided into multiple workspaces: Media, Cut, Edit, Fusion, Color, Fairlight, and Deliver. To start grading, click Color at the bottom of your interface. This opens a full suite of professional tools focused on color correction and grading.
The Viewer & Gallery
At the heart of the Color Page is the Viewer, where you can scrub through clips, loop playback, and monitor changes in real time.
To the top-left, the Gallery Window houses your saved stills. Right beside it is the LUTS panel, offering pre-built and custom Look-Up Tables (LUTs) that can infuse your footage with cinematic flair. Want a filmic vibe? Try a Kodak 2383 LUT or explore third-party options for bolder looks.
Timeline
Beneath the Viewer lies the Timeline, showing thumbnail views of clips ready for grading. Tap the Timeline icon in the upper right corner for a more detailed track-based view—ideal when working on complex edits.
Node Editor
DaVinci Resolve’s Node Editor is where the magic happens. Unlike traditional layer-based editors, Resolve uses a node-based system to separate and chain adjustments. It’s a different mindset, but once mastered, it unlocks powerful, non-destructive workflows
Curves
- Camera Raw
- Color Match
- Color Wheels
- HDR Grade
- RGB Mixer
- Motion Effects
- Color Warper
- Qualifier
- Tracker
- Magic Mask
- Blur
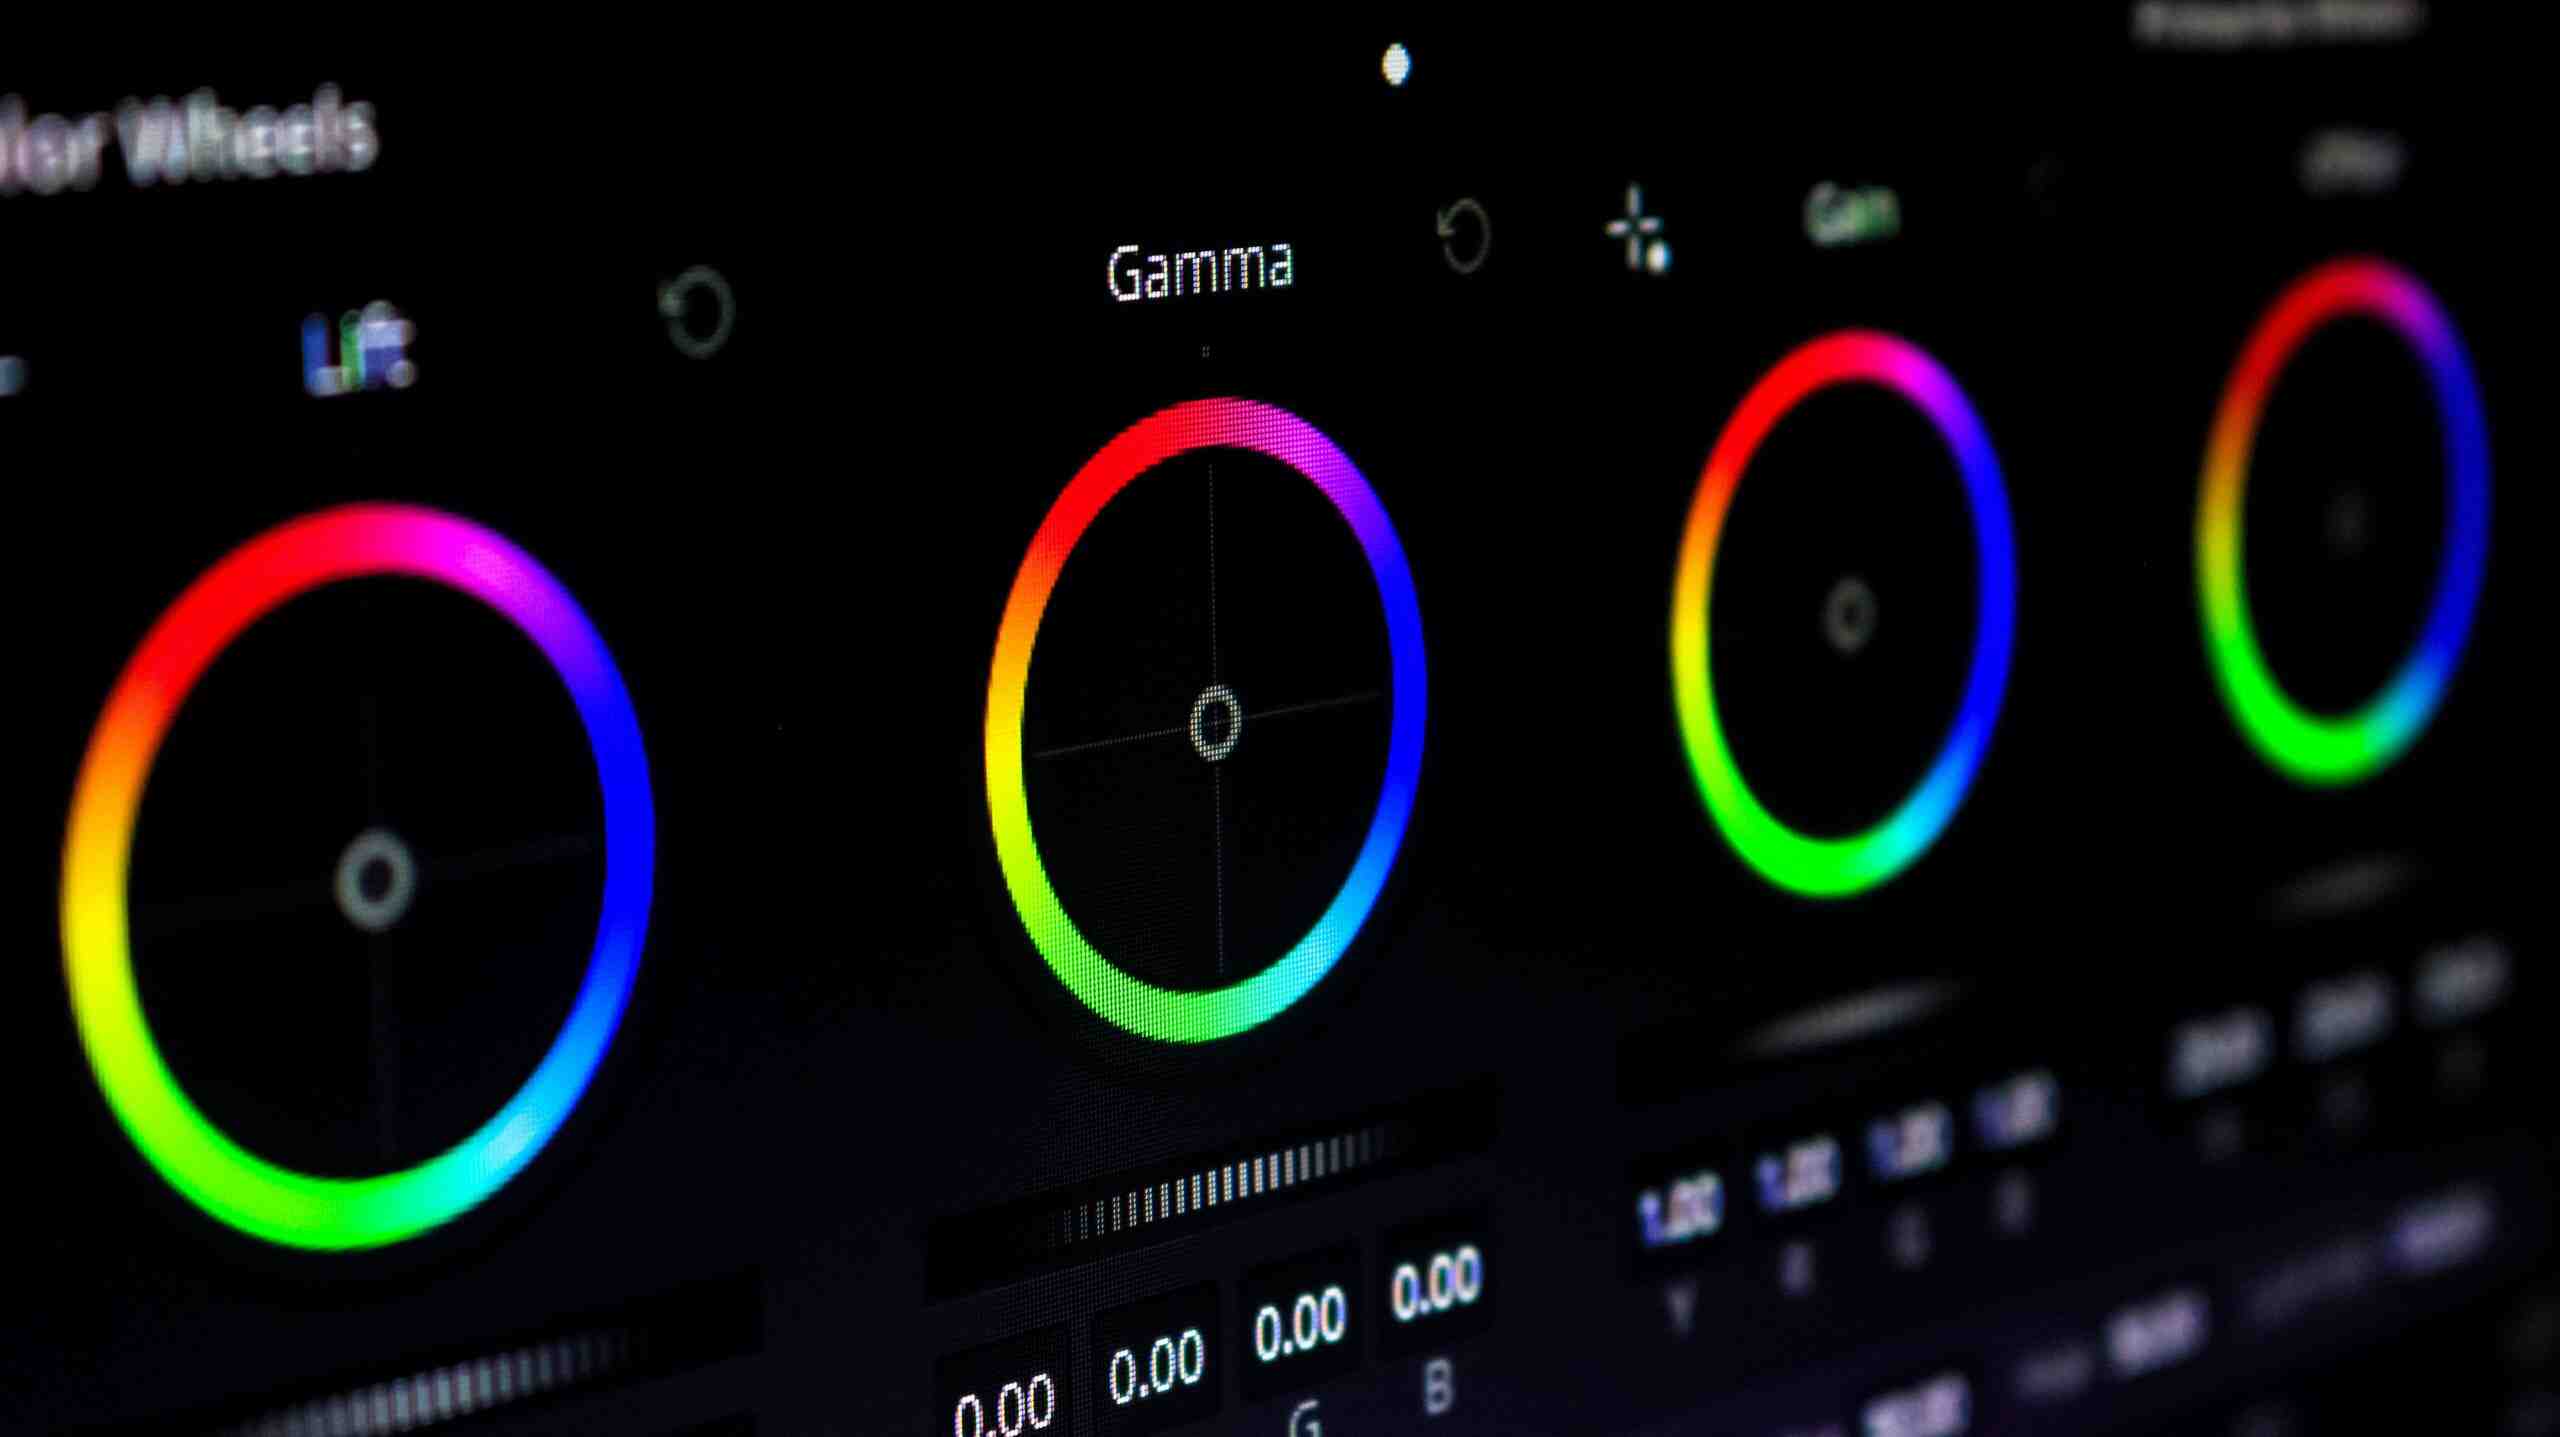
Primary Wheel
Finally, let’s talk about the Primary Wheels. You can find them in the color wheels section. These wheels are the main tools for coloring your images and work like curves in a wheel format. The Gain Wheel adjusts your highlights, the Lift Wheel boosts your shadows, and the Gamma Wheel fine-tunes your mid-tones—the stuff in between highlights and shadows.
- White Balance: You’ll spot the white balance control by its little eyedropper icon. Basically, white balance helps eliminate any funky color casts in your videos, making sure whites actually look white. Ever noticed footage that looks overly orange or blue? That’s likely a white balance issue. Adjusting both temperature and tint can help fix those problems.
- Contrast: Think of contrast as the tool that boosts the difference between the light and dark parts of your image. It’s all about making those features pop!
- Pivot: The pivot control lets you change the center point for those contrast adjustments. This is super handy when you want to get really precise with your tuning.
- Color Boost: The color boost slider cranks up the vibrancy of your colors. If you want your colors to pop, this is your go-to!
- Shadows: Want to brighten up those dark areas of your image? That’s what the shadows slider is for—it also adds some contrast to those shadowy spots.
- Highlights: On the flip side, the highlights slider adjusts how bright and contrast the lighter areas of your image are.
- Saturation: This controls how vibrant your colors are. Zero saturation? That’s black and white! On the other hand, cranking it up really makes the colors stand out.
- Hue: Want to change up your colors? The hue control lets you shift colors around—turn reds into blues or blues into greens!
- Scopes: You’ll find the Scopes panel in the lower right corner of DaVinci Resolve. It’s super handy for checking if your image is over or underexposed.
Summary
Blackmagic has established itself as a powerful player in the creative landscape, largely due to programs like DaVinci Resolve. Its advanced color capabilities make it clear why DaVinci Resolve remains a go-to choice in the film industry.